
It’s that time of the year again.
While salaried income earners start the submitting their BE form to LHDN in March, those of us earning through freelance work—agents, content creators, and others under Form B—only face tax season in June.
But for us Form B gang, it’s always a good idea to prepare early—and get all our questions answered.
I’m still learning as I go, and honestly, I don’t fully understand yet how to use the MyInvois app so let’s explore this app with me.
- 5 Fingers…
- When My Body Is Awake but My Brain Is Not
- Waiting Period Done… So Why Was His Certificate Cancelled?
- Aggressive? Shameless? Maybe. But It Worked.
- My honest experience with Orlistat (so far)
The Welcome Page
This is the first page of the app. Once you log in, you’ll land here.
You’ll see:

1. Manage Your Profile (MYP)
2. Manage Taxpayer Profile (MTP)
3. User Guide – which basically explains how to edit or update your profile and taxpayer profile
4. An option to contact customer service.
I’m still not clear on the difference between MYP and MTP.
From what I assume (and this is just my palatao opinion), MYP seems more like an admin / tax agent / tax company profile that manages multiple taxpayers, while MTP refers to the taxpayer themselves.
But again, this is just my assumption.
If anyone understands this properly, please comment and share.
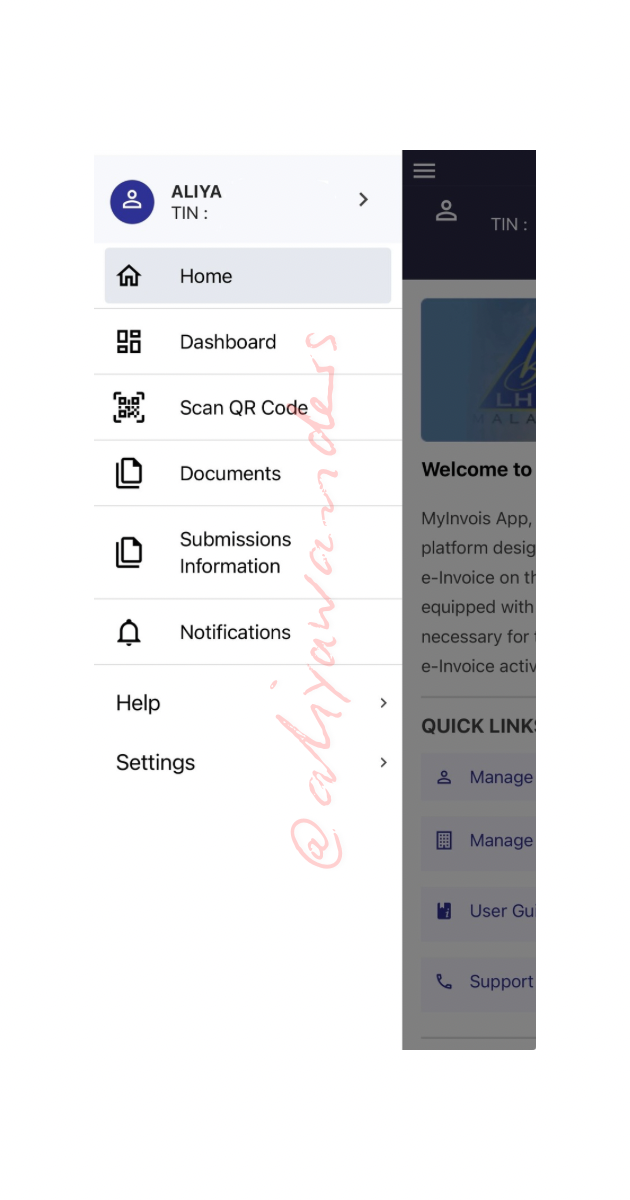
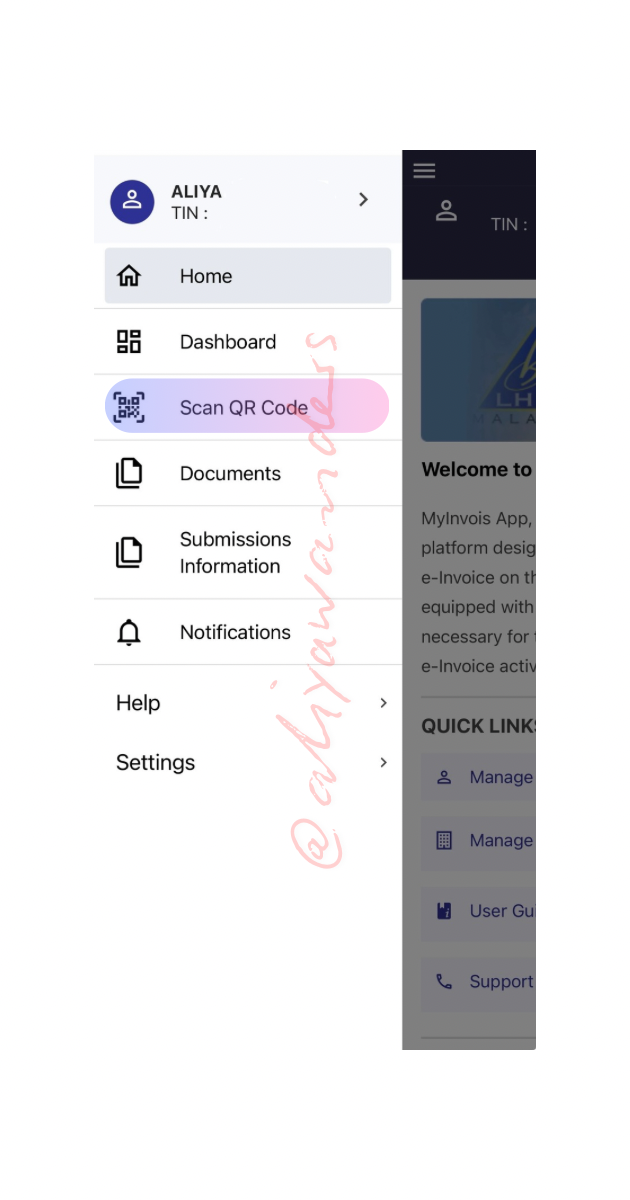
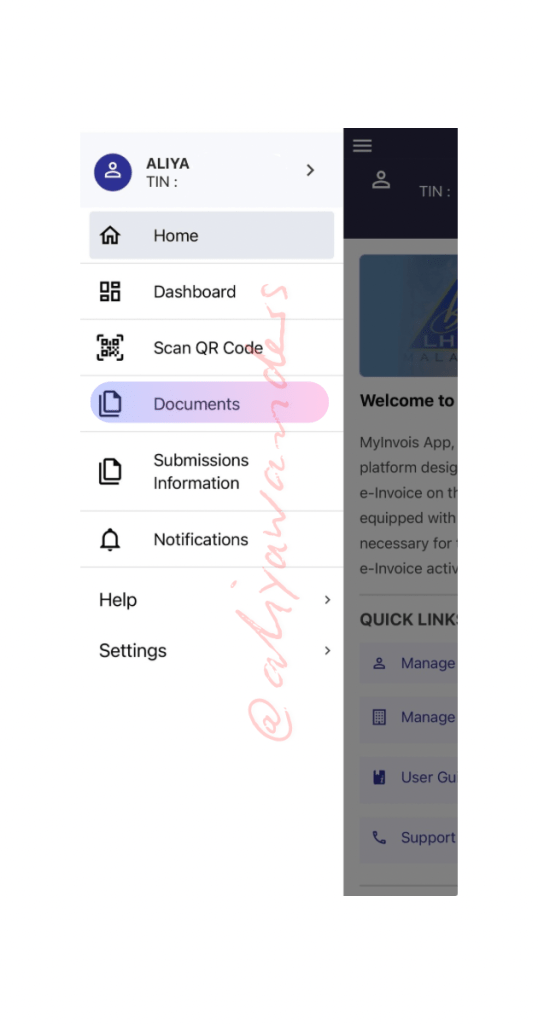
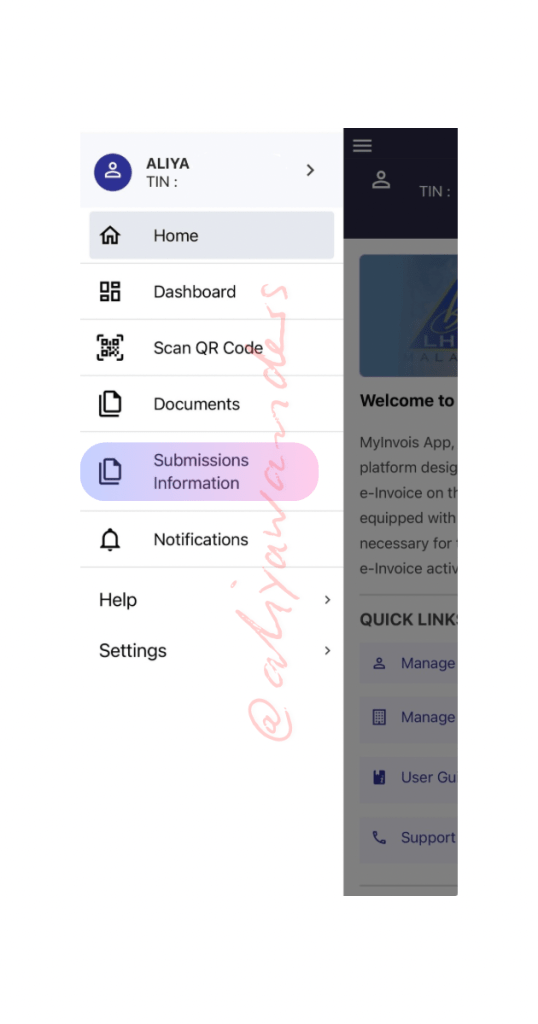
When you click the burger menu at the top left, this is what comes up:
1. Your name
2. TIN number (which I of course have censored)
And the menu:
- Home
- Dashboard
- Scan QR Code
- Documents
- Submission Information
- Notifications
If you click Home, it just brings you back to the first page.
Dashboard
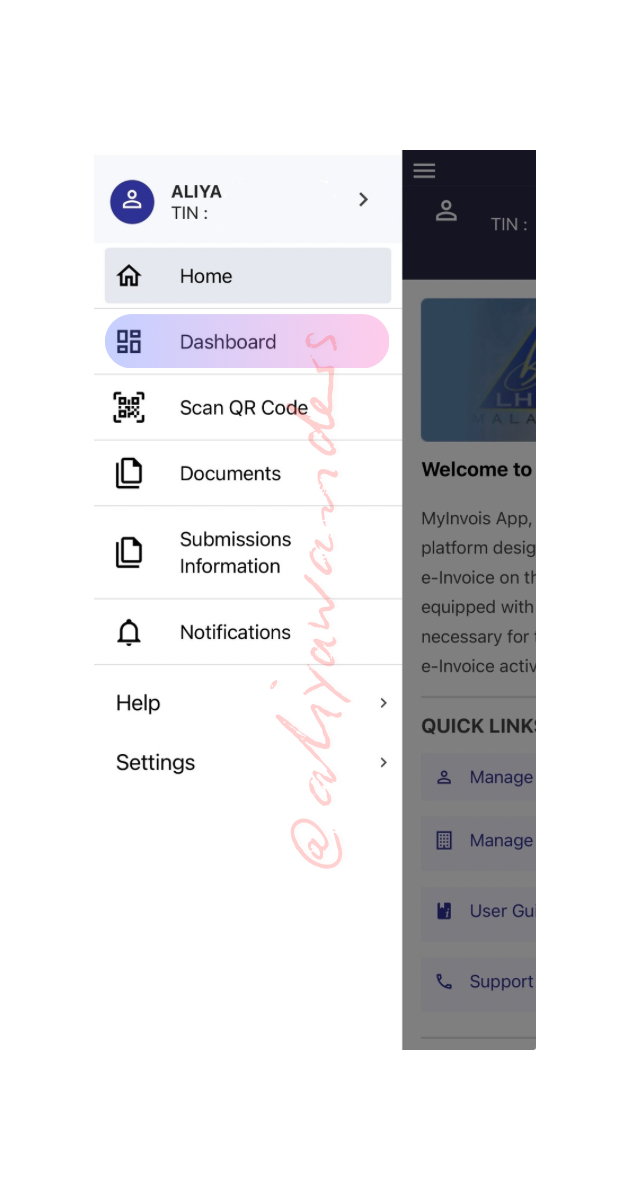
Clicking Dashboard brings you to this page.
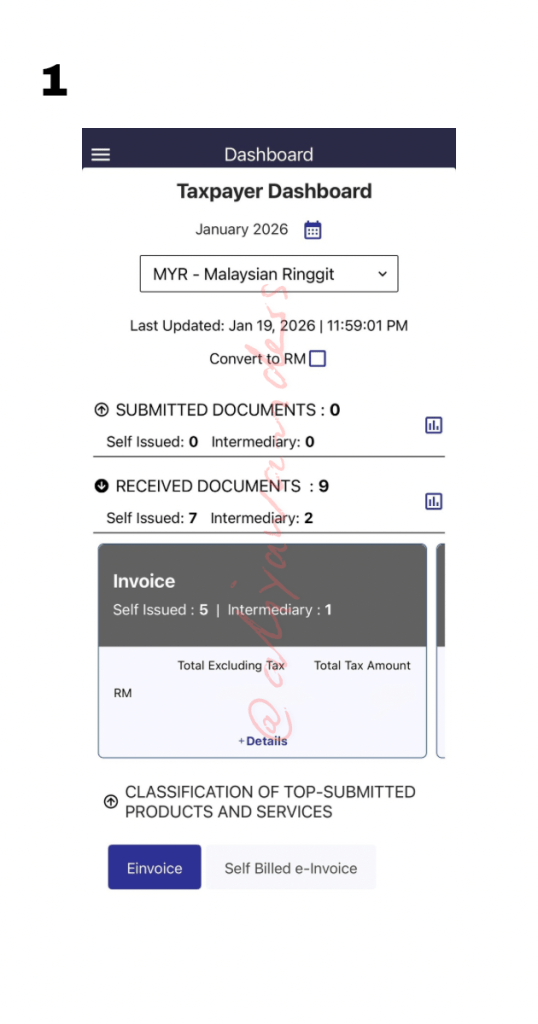
From what I can see, this looks like a summary of all invoices, whether they’re E-Invoices or Self-Billed E-Invoices.
As shown in (photo 1):
Under “Received Documents” → Invoice
7 self-issued documents 2 from intermediaries
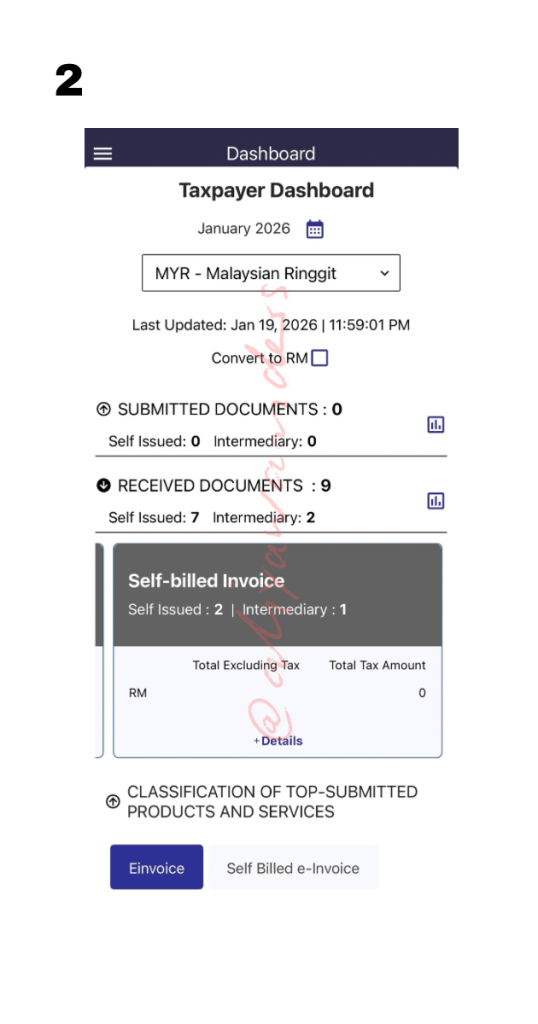
If you swipe left on “Received Documents”, there’s another category “Self-Billed Invoice” (photo 2):
There are 2 self-issued 1 from intermediary in my app.
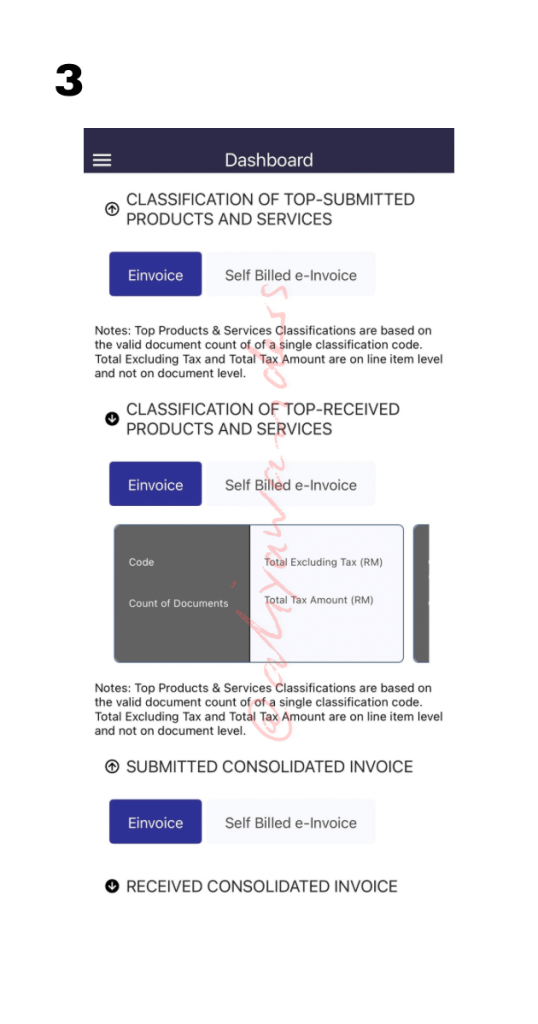
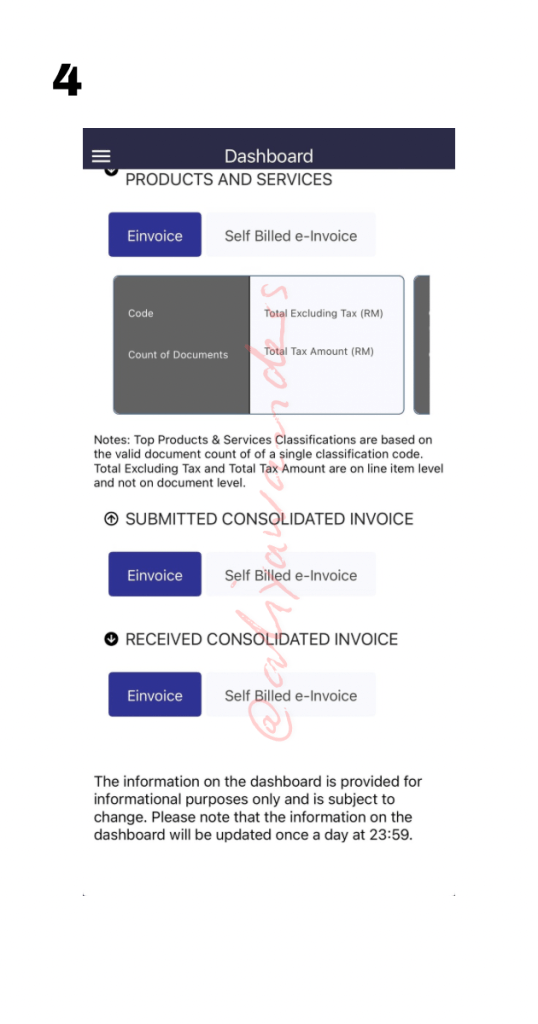
Scrolling further down the Dashboard (photo 3 & 4), I can see these 2 sections:
– Submitted Consolidated Invoice
– Received Consolidated Invoice


Each section has E-Invoice and Self-Billed E-Invoice buttons, but clicking them doesn’t bring me anywhere (at least for now).
I’d actually like to comment more on the difference between Submitted Consolidated Invoice and Received Consolidated Invoice, but I still need more time to understand this part properly.
So I’m going to leave this part for now and come back to update once I understand it better.
Scan QR Code
Moving on to “Scan QR Code” from the drop-down menu (the burger)…

To use the QR scan function, you’ll need to give the app permission to access your camera—which I did. However, when I tried scanning the e-invoice QR code on my purchase receipt, I got an error message.
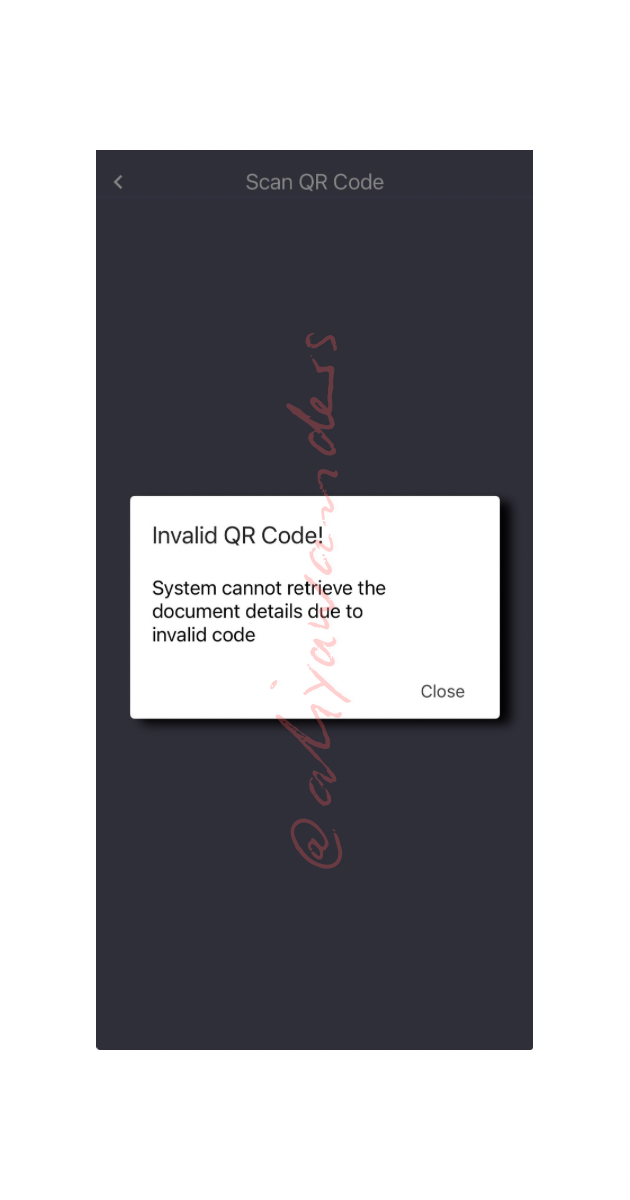
The receipt was from today’s purchase, so maybe the e-invoice isn’t ready yet in the system. I’ll try again later and update if it works.
Documents
Next, “Documents” from the drop-down menu is probably what interests me the most.
Here, I can see detailed E-Invoices and Self-Billed E-Invoices, just like what we saw in the Dashboard menu.
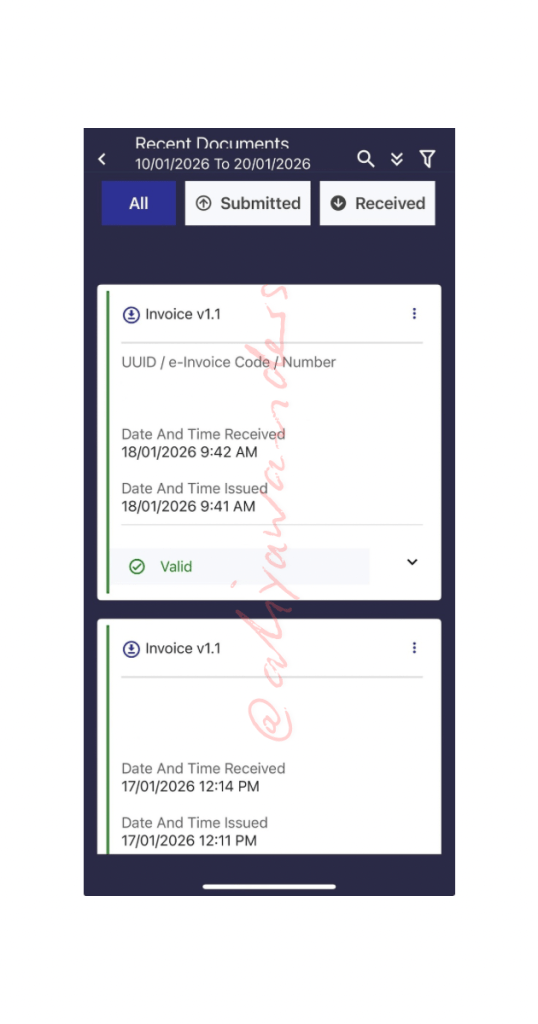
ALL
There are three options under Documents, All Which, as the name suggests, shows all the invoices and then you have the Submitted and Received sections..

SUBMITTED
But when I click on Submitted, there’s nothing there yet. Which makes me wonder… is this where we’re supposed to submit invoices ourselves?
Or maybe this function isn’t available on the app yet, and we actually need to log in via the MyInvois website instead.
For now, that’s just me guessing.
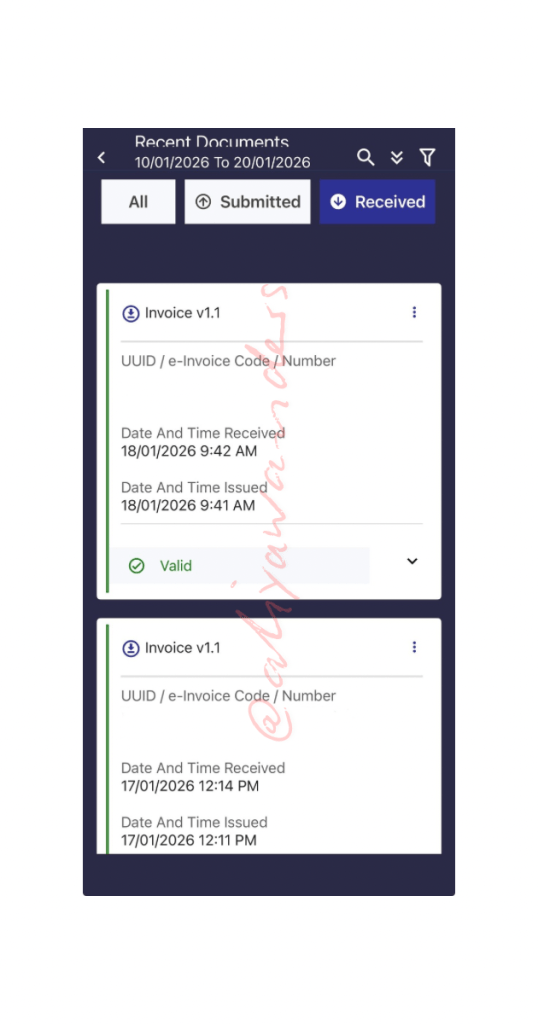
RECEIVED
What’s interesting is that I only see:
- 2 under E-Invoices
- 2 under Self-Billed E-Invoices
But on the Dashboard, there were more invoices shown. So maybe those invoices were newly submitted and haven’t been updated yet under Documents.
That’s my guess for now.
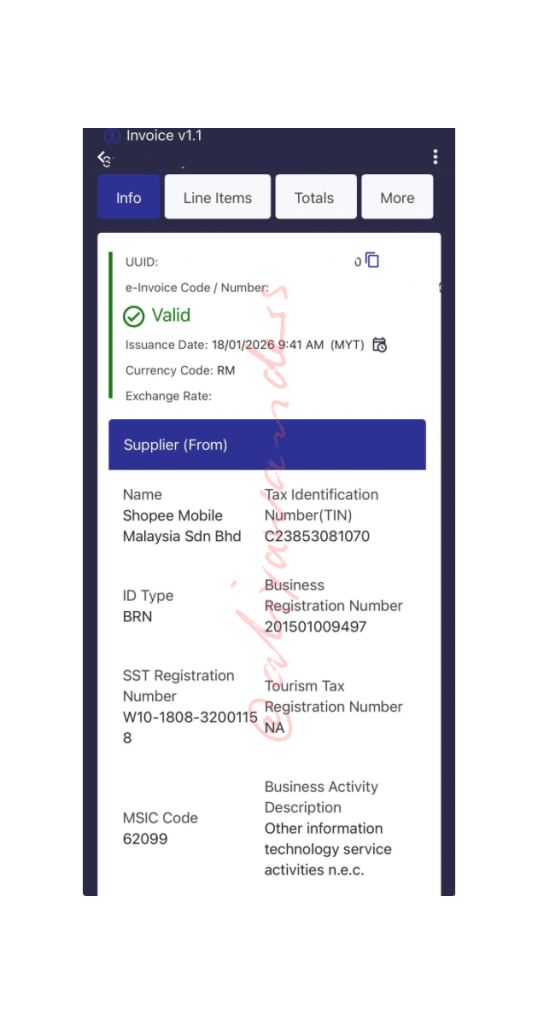
If you click on any of the invoices, more details will be shown, such as the supplier and buyer and of course how much tax due (if any).
In this example, this is an invoice submitted by Shopee for my purchase of chunky yarn for a crocheting project.
Submission and Notification
The remaining menus are Submission and Notifications.
So far… nothing to see under both.
For Notifications, there are two sections: User and Taxpayer.
Naturally, when I clicked on Taxpayer, the app decided to do a Crash Landing On Me (K-drama).
So I’ll just take that as a sign to come back later.
Oh, here are the screenshots of the two menus.
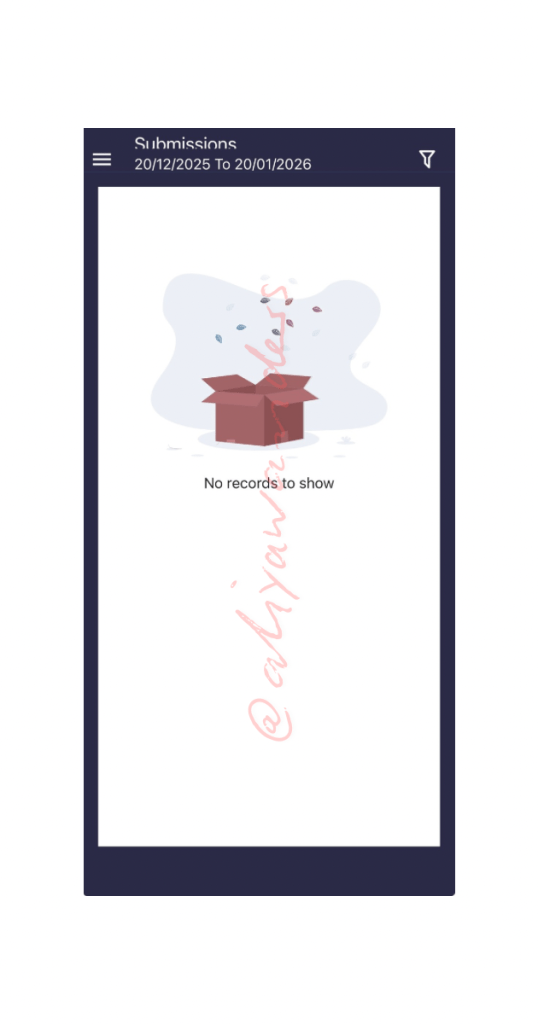

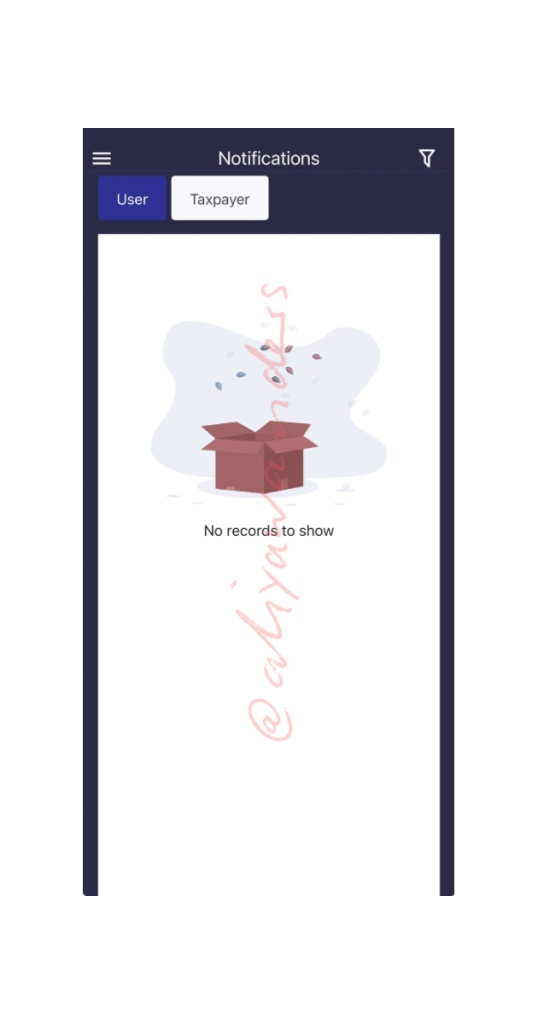
Hope this helps, even though there’s not much to show yet.
I’ll keep updating this space as I learn and discover more.
Drop me a WhatsApp or leave a comment below. Let’s share what we know with each other.

Content creator & Islamic financial planner who keeps things fun, relatable & practical. Juggling life, family & great deals—always with a smile!
And hey, if you ever want to chat about retirement savings or financial planning, just hit me up! Let’s chat! 012 223 1623[WhatsApp link]
I’m so glad you enjoy my articles, photos, and videos! Let’s keep it respectful—please don’t copy, reproduce, or share them without my permission. If you’d like to use something, just send me a quick message. I’d be happy to chat!

Leave a comment